
Transform Tired Countertops with Professional Worktop Refinishing
Your kitchen worktops work harder than almost any other surface in your home. Hot pans, sharp knives, spilled wine, splashes of oil, children’s homework, takeaways dumped down at midnight – your worktops see it all. Over time, even the best-quality wood can start to look tired, scratched, stained and impossible to keep properly clean.
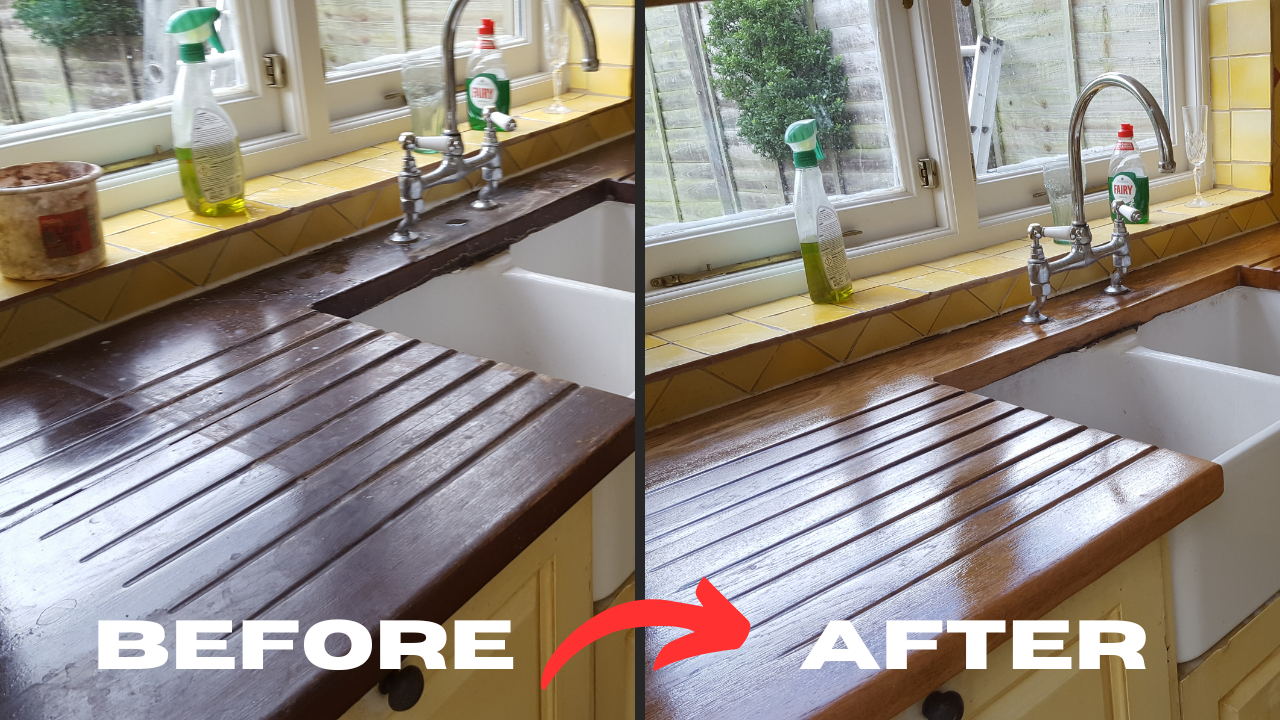
That doesn’t mean you need to rip them out and start again. Professional worktop refinishing and sanding can bring them back to life, transforming worn, dull timber into a hygienic, durable and beautiful surface you actually enjoy using again.
In this guide, we’ll walk you through:
- Why refinishing is better (and cheaper) than replacing
- How sanding improves hygiene in your kitchen
- The step-by-step process professionals follow
- The best finishes for busy UK kitchens
- How to look after your newly refinished worktops
Throughout, we’ll also show how worktop refinishing fits neatly alongside other services like wood floor sanding, parquet floor restoration and hardwood floor refinishing – perfect if you want to refresh your entire home, not just your worktops.
Why Refinish Your Worktops Instead of Replacing Them?
1. Keep the Character, Lose the Damage
New worktops are expensive – and often nowhere near as solid or characterful as the timber already in your kitchen. If you’ve got solid wood or thick timber veneer, worktop sanding removes the damaged top layer and reveals fresh, clean wood beneath.
You keep the character, grain and warmth you originally fell in love with – without the scratches, stains and dull patches that are currently spoiling the view.
2. A Hygienic Fresh Start
Over time, small cuts, dents and worn patches in the finish become traps for bacteria, mould and ingrained dirt. No matter how much you scrub, they never quite feel clean.
Sanding the worktop right back to bare wood removes:
- Old, failing finishes
- Stubborn stains
- Food residues embedded in the surface
- Micro-scratches that harbour germs
Once the surface is smooth and freshly sealed, it’s far easier to wipe down and keep hygienic day to day.
3. A Fraction of the Cost and Disruption
Ripping out and replacing worktops means:
- Removing sinks and hobs
- Adjusting tiles, upstands and sometimes units
- Plumbing and electrical work
- Disposal of old worktops
Professional worktop refinishing is usually completed in a day or two, with far less mess and disruption, and at a much lower cost than replacement. It’s a smart move if you want a kitchen “refresh” rather than a full refit.
Which Worktops Can Be Sanded and Refinished?
Not all worktops are created equal – but many can be revived with the right approach.
Solid Wood Worktops
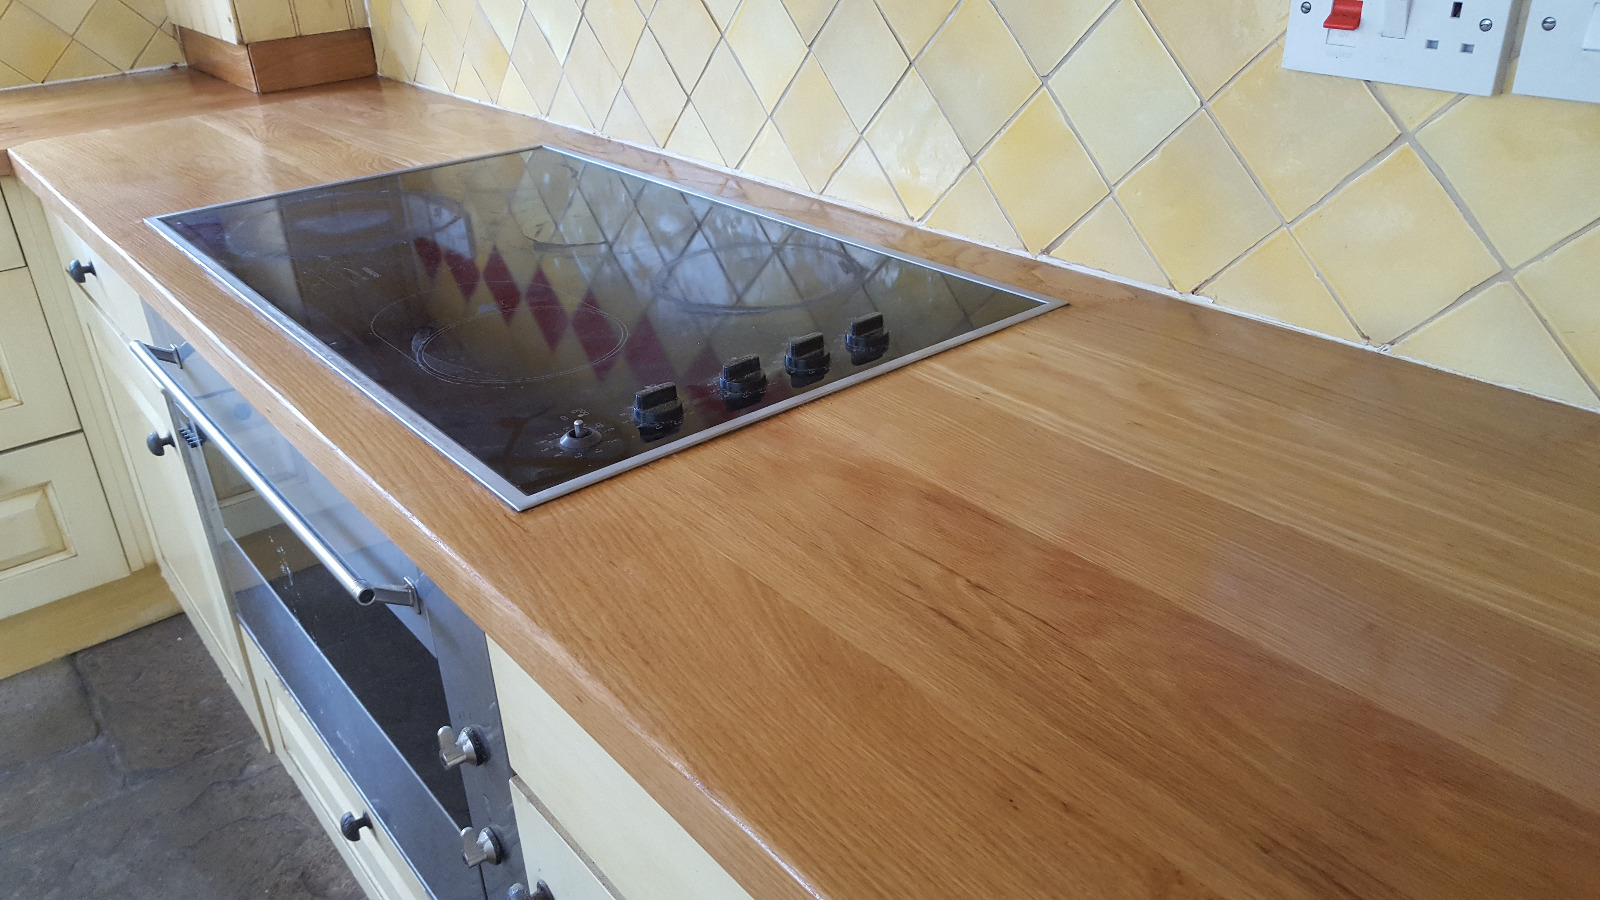
Solid wood worktops (oak, beech, walnut, maple and so on) are ideal for refinishing. As long as there’s enough depth, they can be sanded multiple times over their lifetime, much like a solid timber floor after hardwood floor sanding.
Thick Timber Veneer
Some modern worktops have a thick timber veneer bonded to a stable core. These can often be carefully sanded and refinished, provided the veneer layer is not too thin and hasn’t already been over-sanded in the past.
Butcher’s Block and Island Units
Chunky butcher block tops and island units respond especially well to sanding and refinishing. These can become the visual centrepiece of the whole kitchen once restored – similar to how a feature parquet floor benefits from parquet floor sanding.
Surfaces That Are Not Suitable
Certain worktops can’t be sanded in the same way as timber:
- Laminate (imitation wood surfaces)
- Solid stone (granite, quartz)
- Solid surface (e.g. Corian)
These require different restoration methods, but they can often be cleaned, polished or repaired separately while your real-wood worktops are being refinished.
If you’re unsure what type of worktop you have, a site visit and inspection will normally clarify what’s possible.
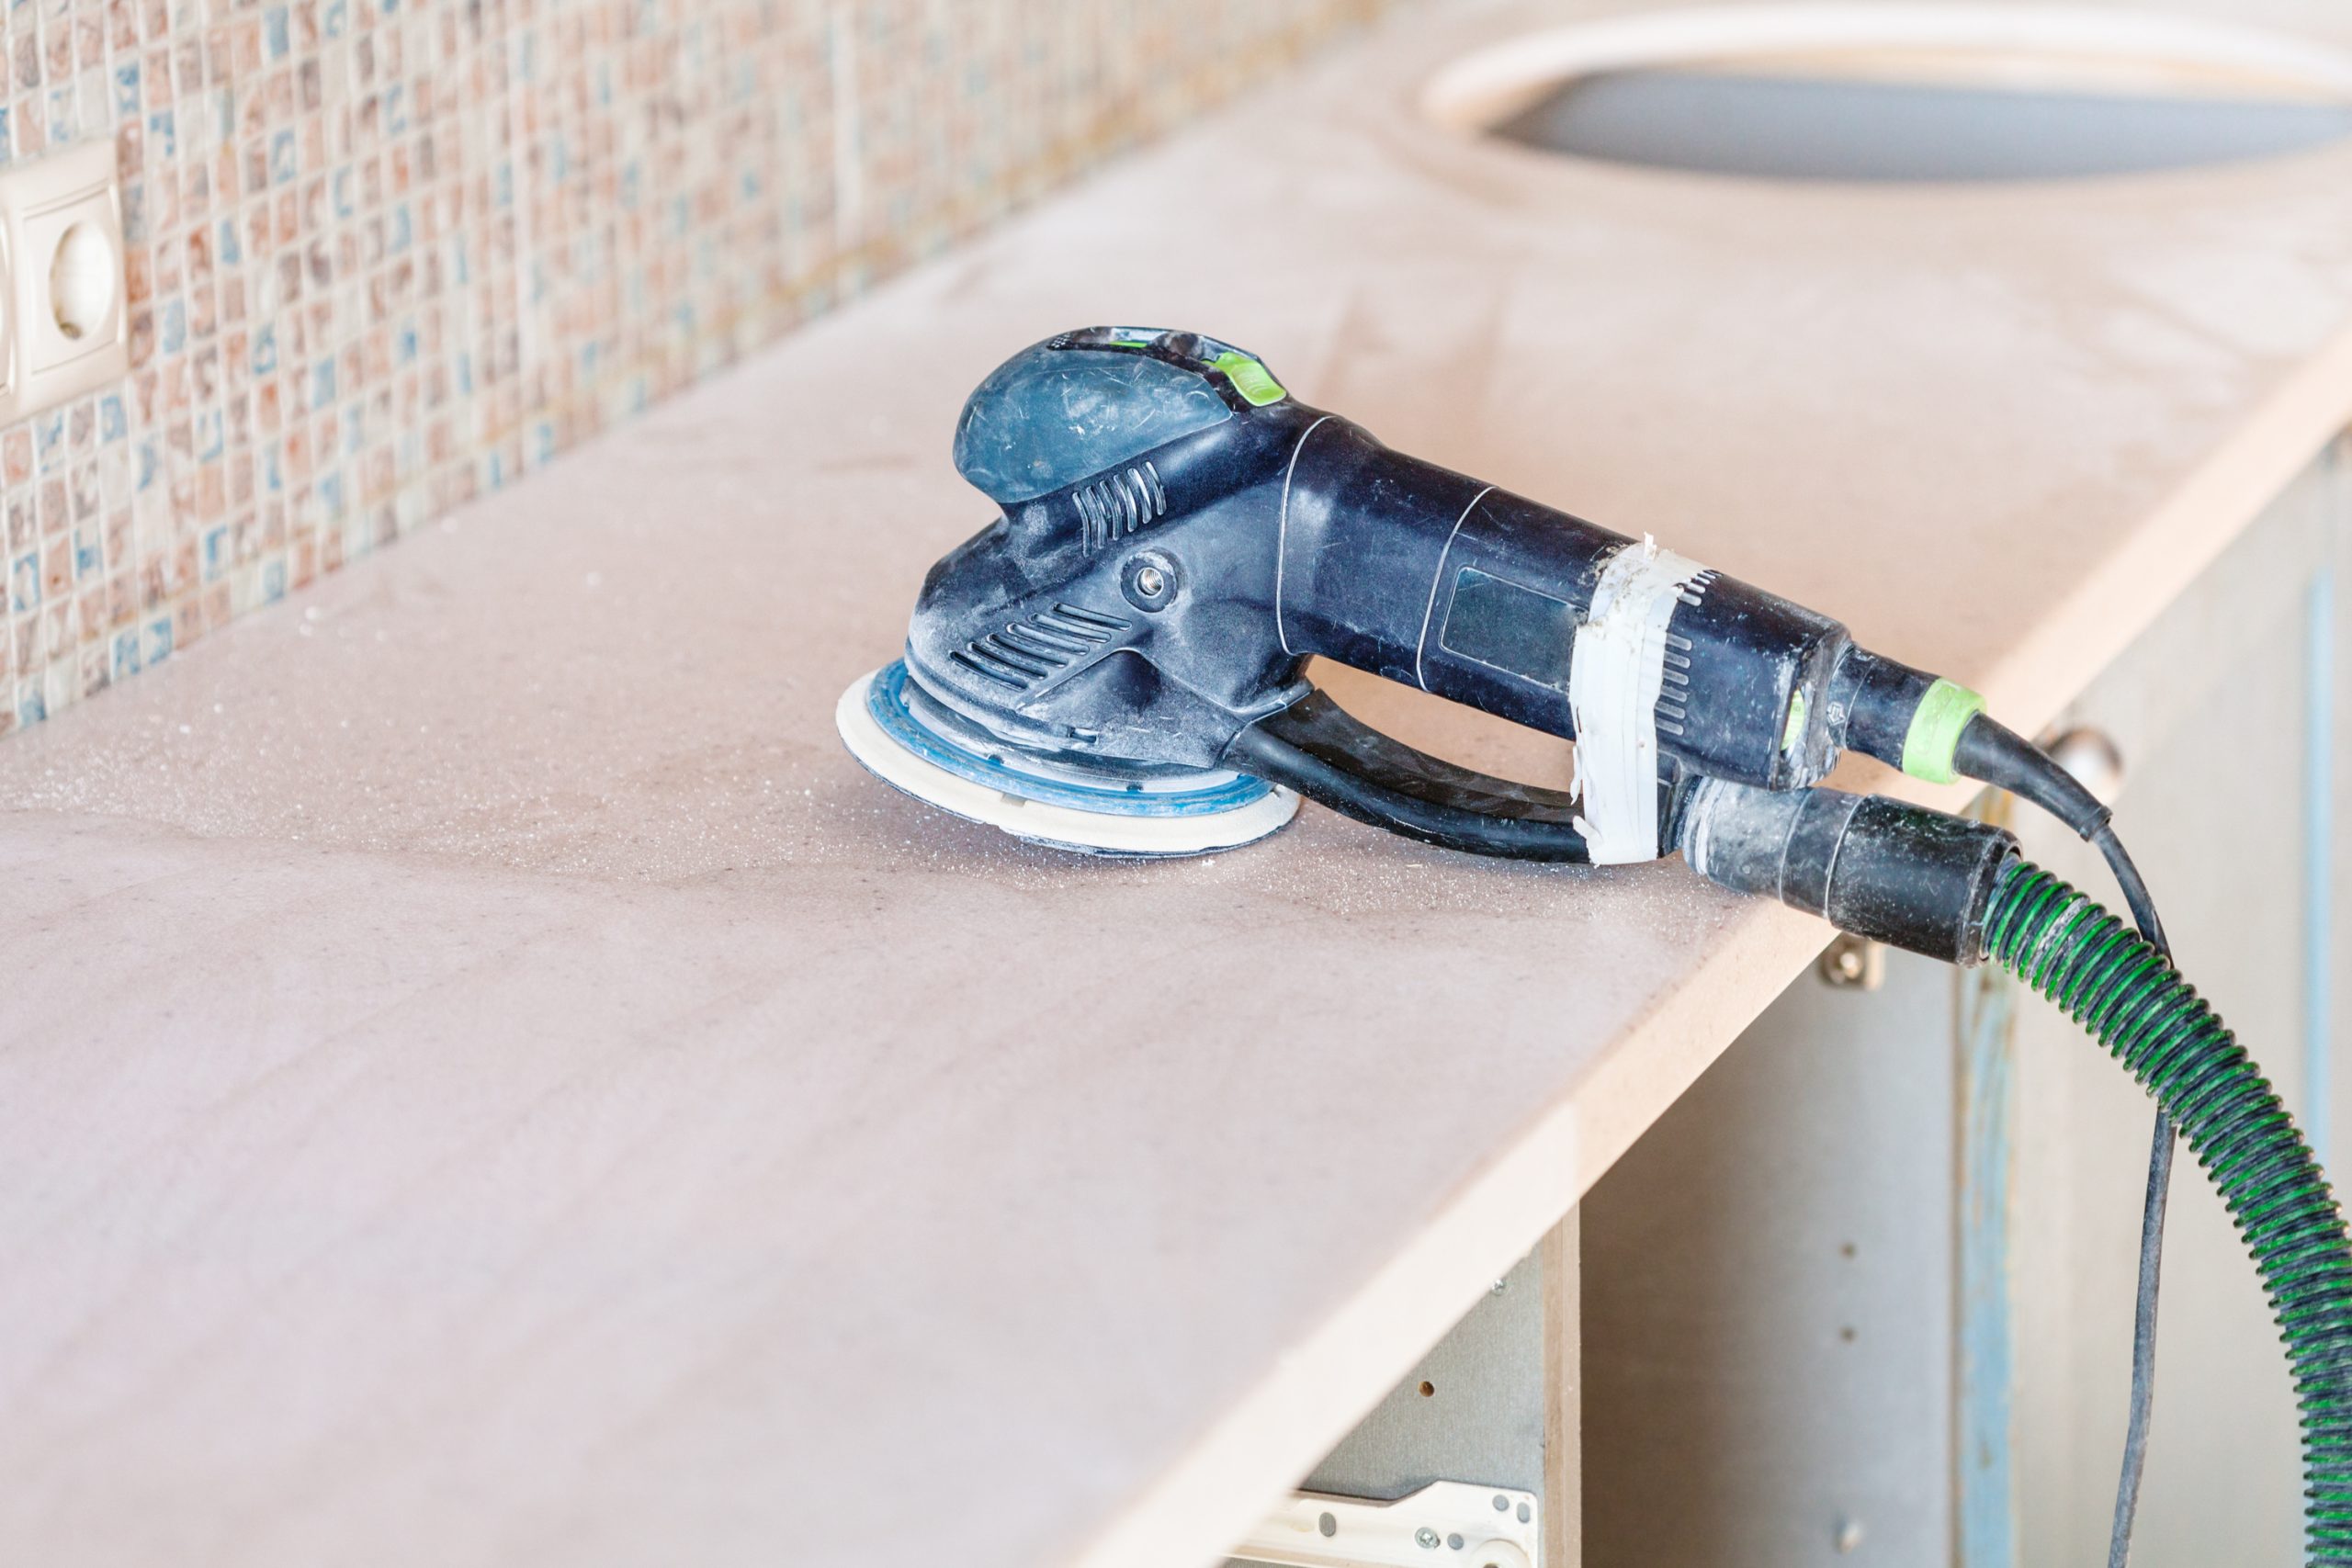
How Professional Worktop Sanding and Refinishing Works
Refinishing worktops is not just a quick “once-over” with a hand sander. Done properly, it’s a careful, staged process designed to protect your kitchen while delivering a long-lasting, hygienic and attractive finish.
Step 1: Protection and Preparation
A reputable team will begin by:
- Masking adjacent areas (tiles, walls, units)
- Covering floors and appliances
- Removing or loosening silicone where necessary
- Checking for loose sections, movement or damage
If your kitchen also needs wood floor sanding or commercial floor sanding in an open-plan space, this is the ideal time to plan it, so the whole area is protected and managed together.
Step 2: Coarse Sanding – Removing Old Finish
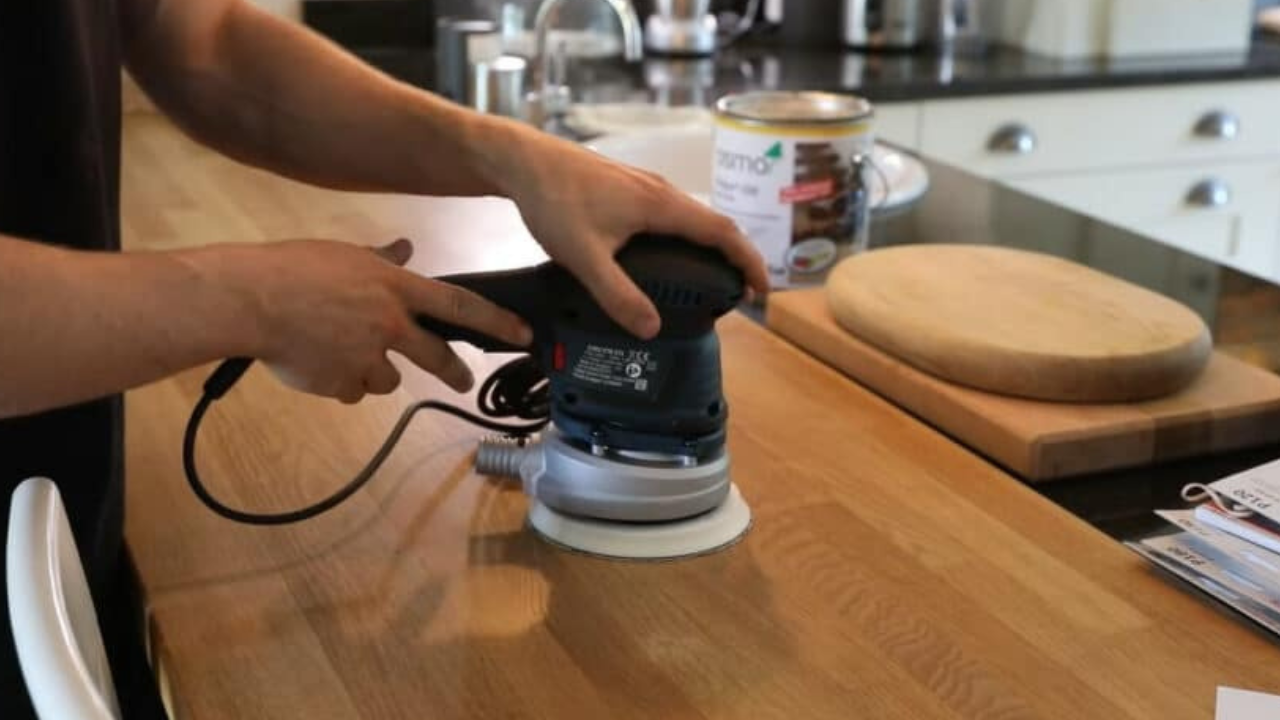
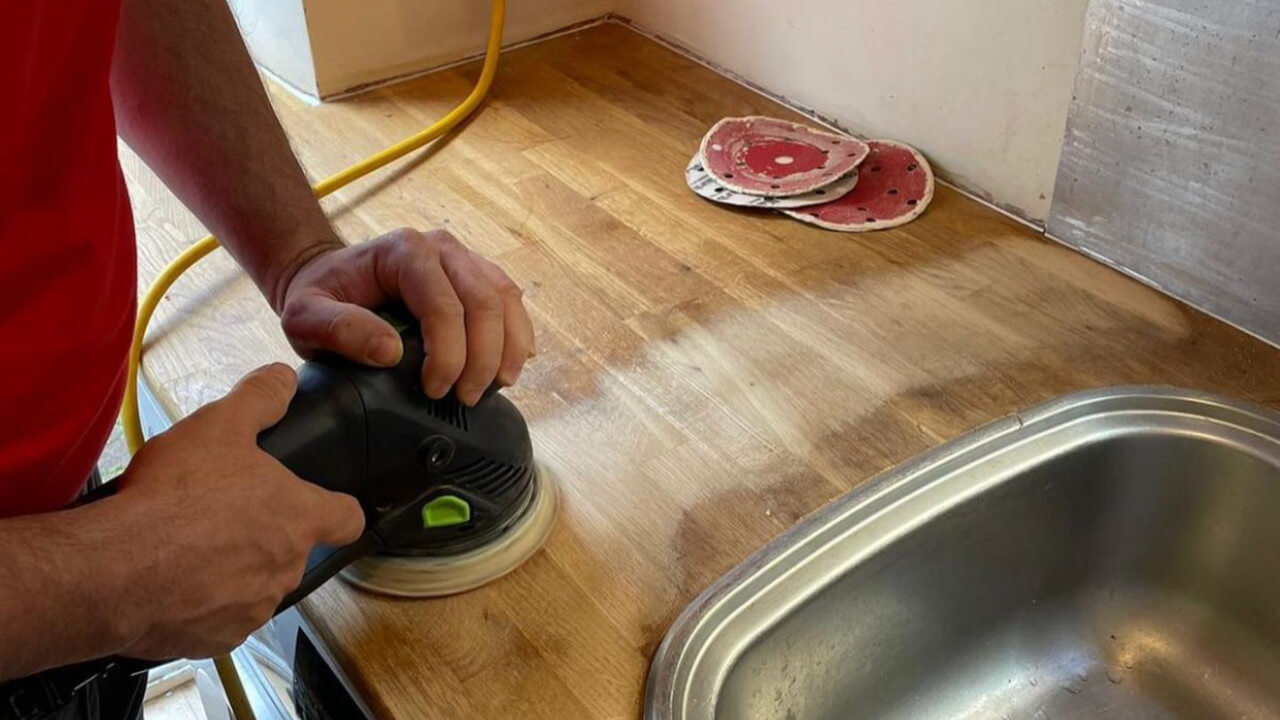
Using professional sanding machines with efficient dust extraction, the top layer of the worktop is carefully sanded away. This removes:
- Old varnish, lacquer or oil
- Deep stains and scorch marks (where possible)
- Scratches, knife marks and water marks
Edges, corners and tight spots are worked by hand or with detail sanders to ensure an even result.
Step 3: Finer Sanding – Creating a Smooth, Even Surface
Once the worst of the wear and old finish has been removed, the sanding grades are stepped down. Each pass:
- Refines the surface further
- Smooths out sanding marks
- Prepares the wood for finishing
The goal is a uniformly smooth, clean, bare-wood surface ready to accept fresh coatings.
Step 4: Repairs and Filling
Any small gaps, dents or open joints may be filled or repaired at this stage. This can involve:
- Timber slivers inserted into larger gaps
- Wood filler tinted to match the surrounding grain
- Localised repairs around sinks or appliances
This is similar in principle to how repairs are handled in parquet floor restoration, where detail and neatness are critical to the final result.
Step 5: Applying the New Finish
Now the fun part – bringing the wood back to life. Depending on your kitchen and how you use it, several types of finish may be suitable.
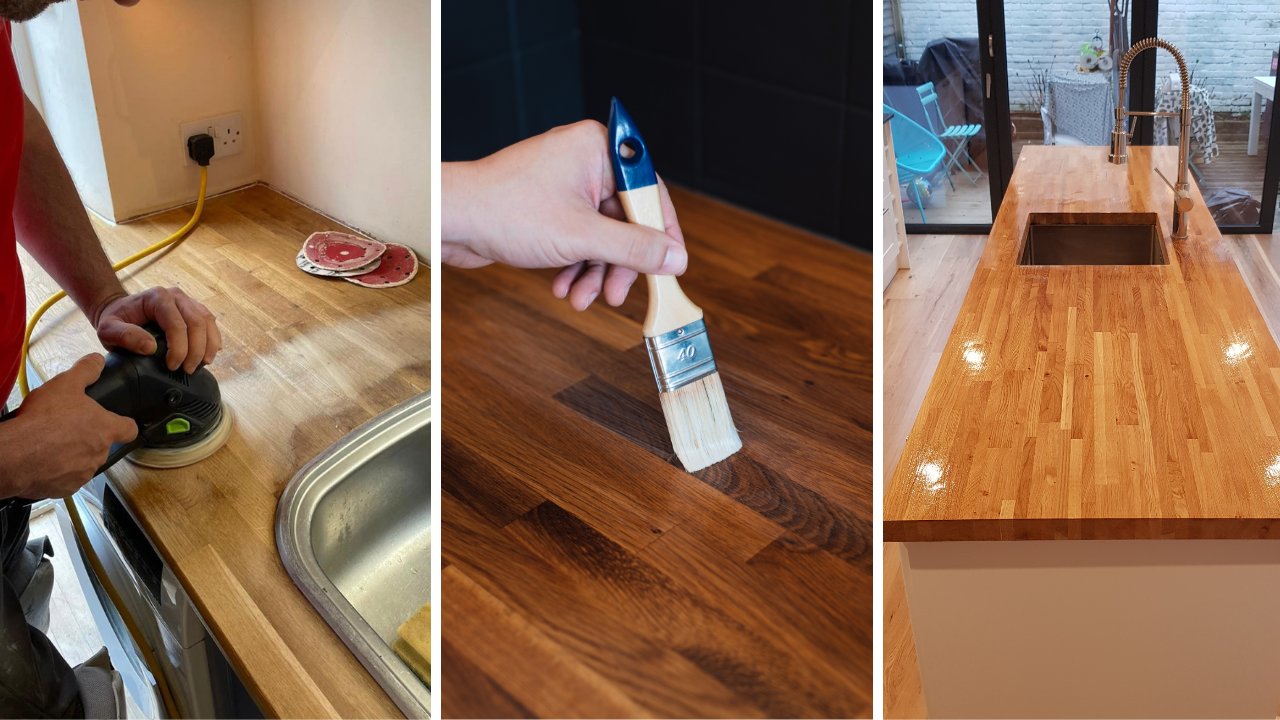
Choosing the Right Finish for Hygienic, Durable Worktops
Your worktops must cope with spills, heat, chopping, cleaning products and everyday family life. The finish you choose has a huge impact on both hygiene and longevity.
Food-Safe Oils
Pros:
- Bring out the natural grain and warmth
- Easy to refresh and maintain
- Food-safe options available
Cons:
- Require more regular maintenance
- Less resistant to standing water and harsh chemicals
Oiled worktops are popular for their natural look and feel. They can be ideal if you’re happy to give them a quick re-oil from time to time.
Hardwax Oils
Pros:
- Combine the beauty of oil with extra durability
- Good resistance to spills and everyday wear
- Available in matt, satin and semi-gloss sheens
Cons:
- Longer curing time
- Still need sensible care (no soaking puddles, no harsh abrasives)
Hardwax oils are a great “best of both worlds” option: they look natural yet hold up well in a busy kitchen.
Lacquers and Varnishes
Pros:
- Tough, protective film on the surface
- High resistance to stains and moisture
- Easy to wipe clean
Cons:
- Slightly less “natural” feel than oils
- When they fail, they need full sanding and re-coating
For households that prioritise easy cleaning and maximum protection, a professional-grade lacquer can be an excellent choice – much like the finishes used during hardwood floor refinishing.
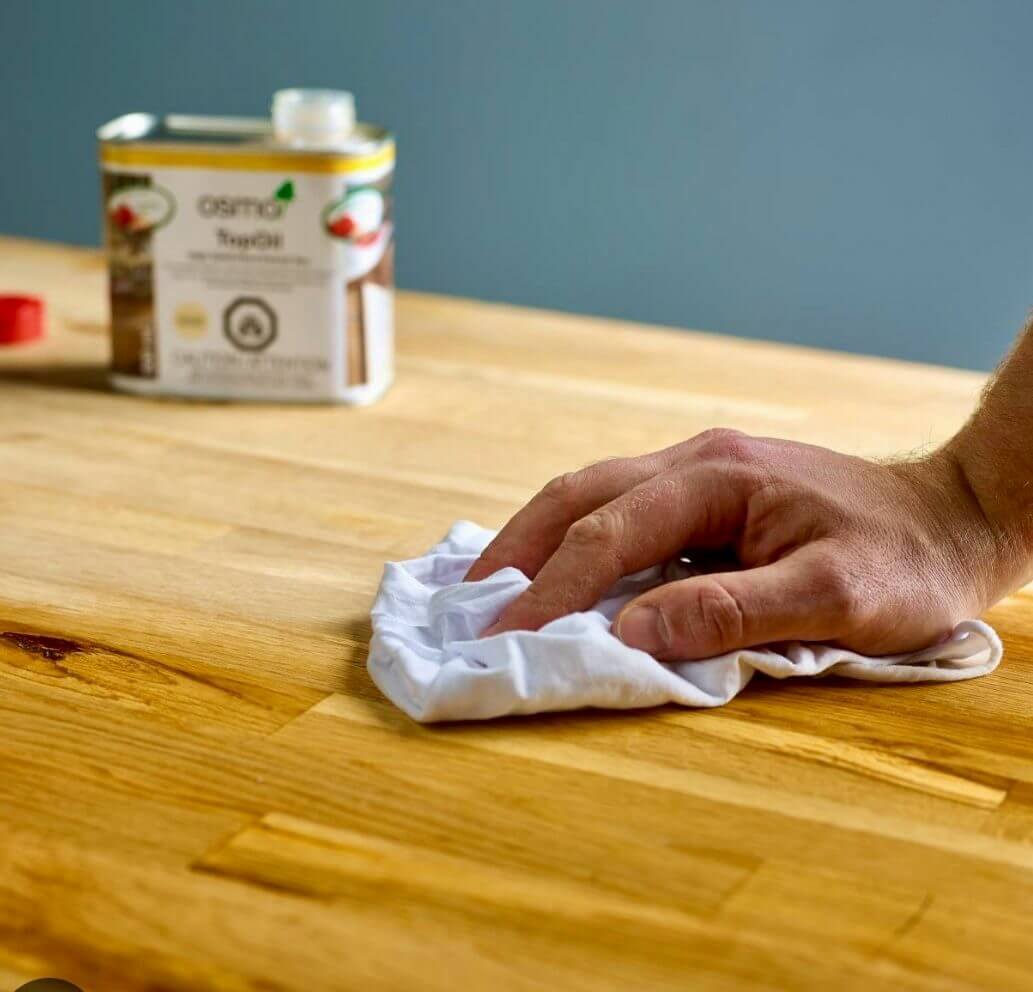
Hygiene Benefits: Why Sanding Makes Such a Difference
A worn worktop with a failing finish often feels unpleasant no matter how much you clean it. Here’s why sanding and refinishing is such a game-changer for hygiene.
1. Smoother, Non-Porous Surface
Micro-scratches and worn patches trap:
- Food residues
- Oils and fats
- Liquids and stains
When the surface is sanded smooth and sealed, these traps disappear. Bacteria have far fewer places to hide, and your cleaning cloth can actually reach and remove day-to-day grime.
2. Easier Daily Cleaning
With a well-sealed surface:
- Mild detergent and warm water are usually sufficient
- You can wipe up spills before they have a chance to soak in
- You’re less tempted to use harsh abrasives that damage the finish
It’s exactly the same logic that applies to a well-finished timber floor after wood floor sanding: smoother surface, easier cleaning, better hygiene.
3. Fresher Smell and Appearance
Old worktops can hold onto odours from food, damp and cleaning products. Removing the top layer of tired wood and finish gives you:
- Fresher-smelling timber
- Cleaner, brighter appearance
- A “new kitchen” feel without the new kitchen price tag

Worktop Refinishing and the Rest of Your Home
If your worktops are tired, there’s a fair chance other timber surfaces around your home are too. Combining services can be a clever way to create a consistent, high-end look throughout.
Match Your Floors to Your Worktops
Co-ordinating your worktops with your floors can make the whole space feel more intentional and stylish. Consider combining worktop refinishing with:
- Wood floor sanding in your kitchen or hallway
- Parquet floor restoration in living rooms or dining rooms
- Hardwood floor refinishing in bedrooms and lounges
Finishes can be chosen to complement each other – for example, matt hardwax oil on floors and satin oil on worktops – so the whole home feels unified.
Don’t Forget Outdoor Spaces
Many kitchens now open directly onto patios, decks or garden rooms via bi-folds or French doors. Refreshing your deck at the same time with professional deck sanding and treatment can extend that sense of flow from inside to out.
A clean, well-finished deck:
- Looks smarter through the kitchen doors
- Is safer underfoot in wet weather
- Is easier to keep free from algae and grime
Looking After Your Newly Refinished Worktops
Once your worktops have been professionally sanded and refinished, a little care goes a long way.
Daily Care
- Wipe up spills promptly, especially coloured liquids (wine, curry, beetroot)
- Use a soft cloth or sponge with a mild, non-abrasive cleaner
- Avoid bleach, strong alkali or scouring pads that can attack the finish
Heat and Cutting
- Always use trivets or heat mats for hot pans and trays
- Use chopping boards rather than cutting directly on the worktop
- Don’t slide heavy, rough-bottomed objects across the surface
Regular Maintenance
Depending on the finish chosen, you may occasionally need to:
- Refresh oiled surfaces with a top-up coat of oil
- Buff or top-coat hardwax oil where traffic is heaviest
- Inspect lacquered surfaces for chips and have them touched in before moisture gets underneath
A good refinishing company will explain the ideal maintenance routine for your specific finish and lifestyle.

Why Choose a Specialist for Worktop Refinishing?
DIY videos can make sanding look straightforward – but worktops are not the place for experimentation.
Professional Sanding Equipment
Specialists use:
- Powerful yet controllable sanding machines
- Dust extraction to minimise mess
- Graded abrasives for a smooth, even finish
This reduces the risk of waves, dips, swirl marks or accidentally sanding too aggressively in one area.
Expert Knowledge of Timber and Finishes
Every piece of timber behaves differently. A professional understands:
- How different woods respond to sanding
- Which finishes suit which species and usage
- How to deal with problem areas around sinks and appliances
That experience is equally valuable when handling commercial floor sanding in busy premises or delicate parquet floor restoration in period properties.
A Finish Designed to Last
Most importantly, a specialist will specify a finish that suits:
- How you actually use your kitchen
- The amount of natural light and heat
- Your preferred look (matt, satin or gloss)
This means you’re not just getting a quick cosmetic fix; you’re getting a carefully planned restoration designed to stand up to everyday life.
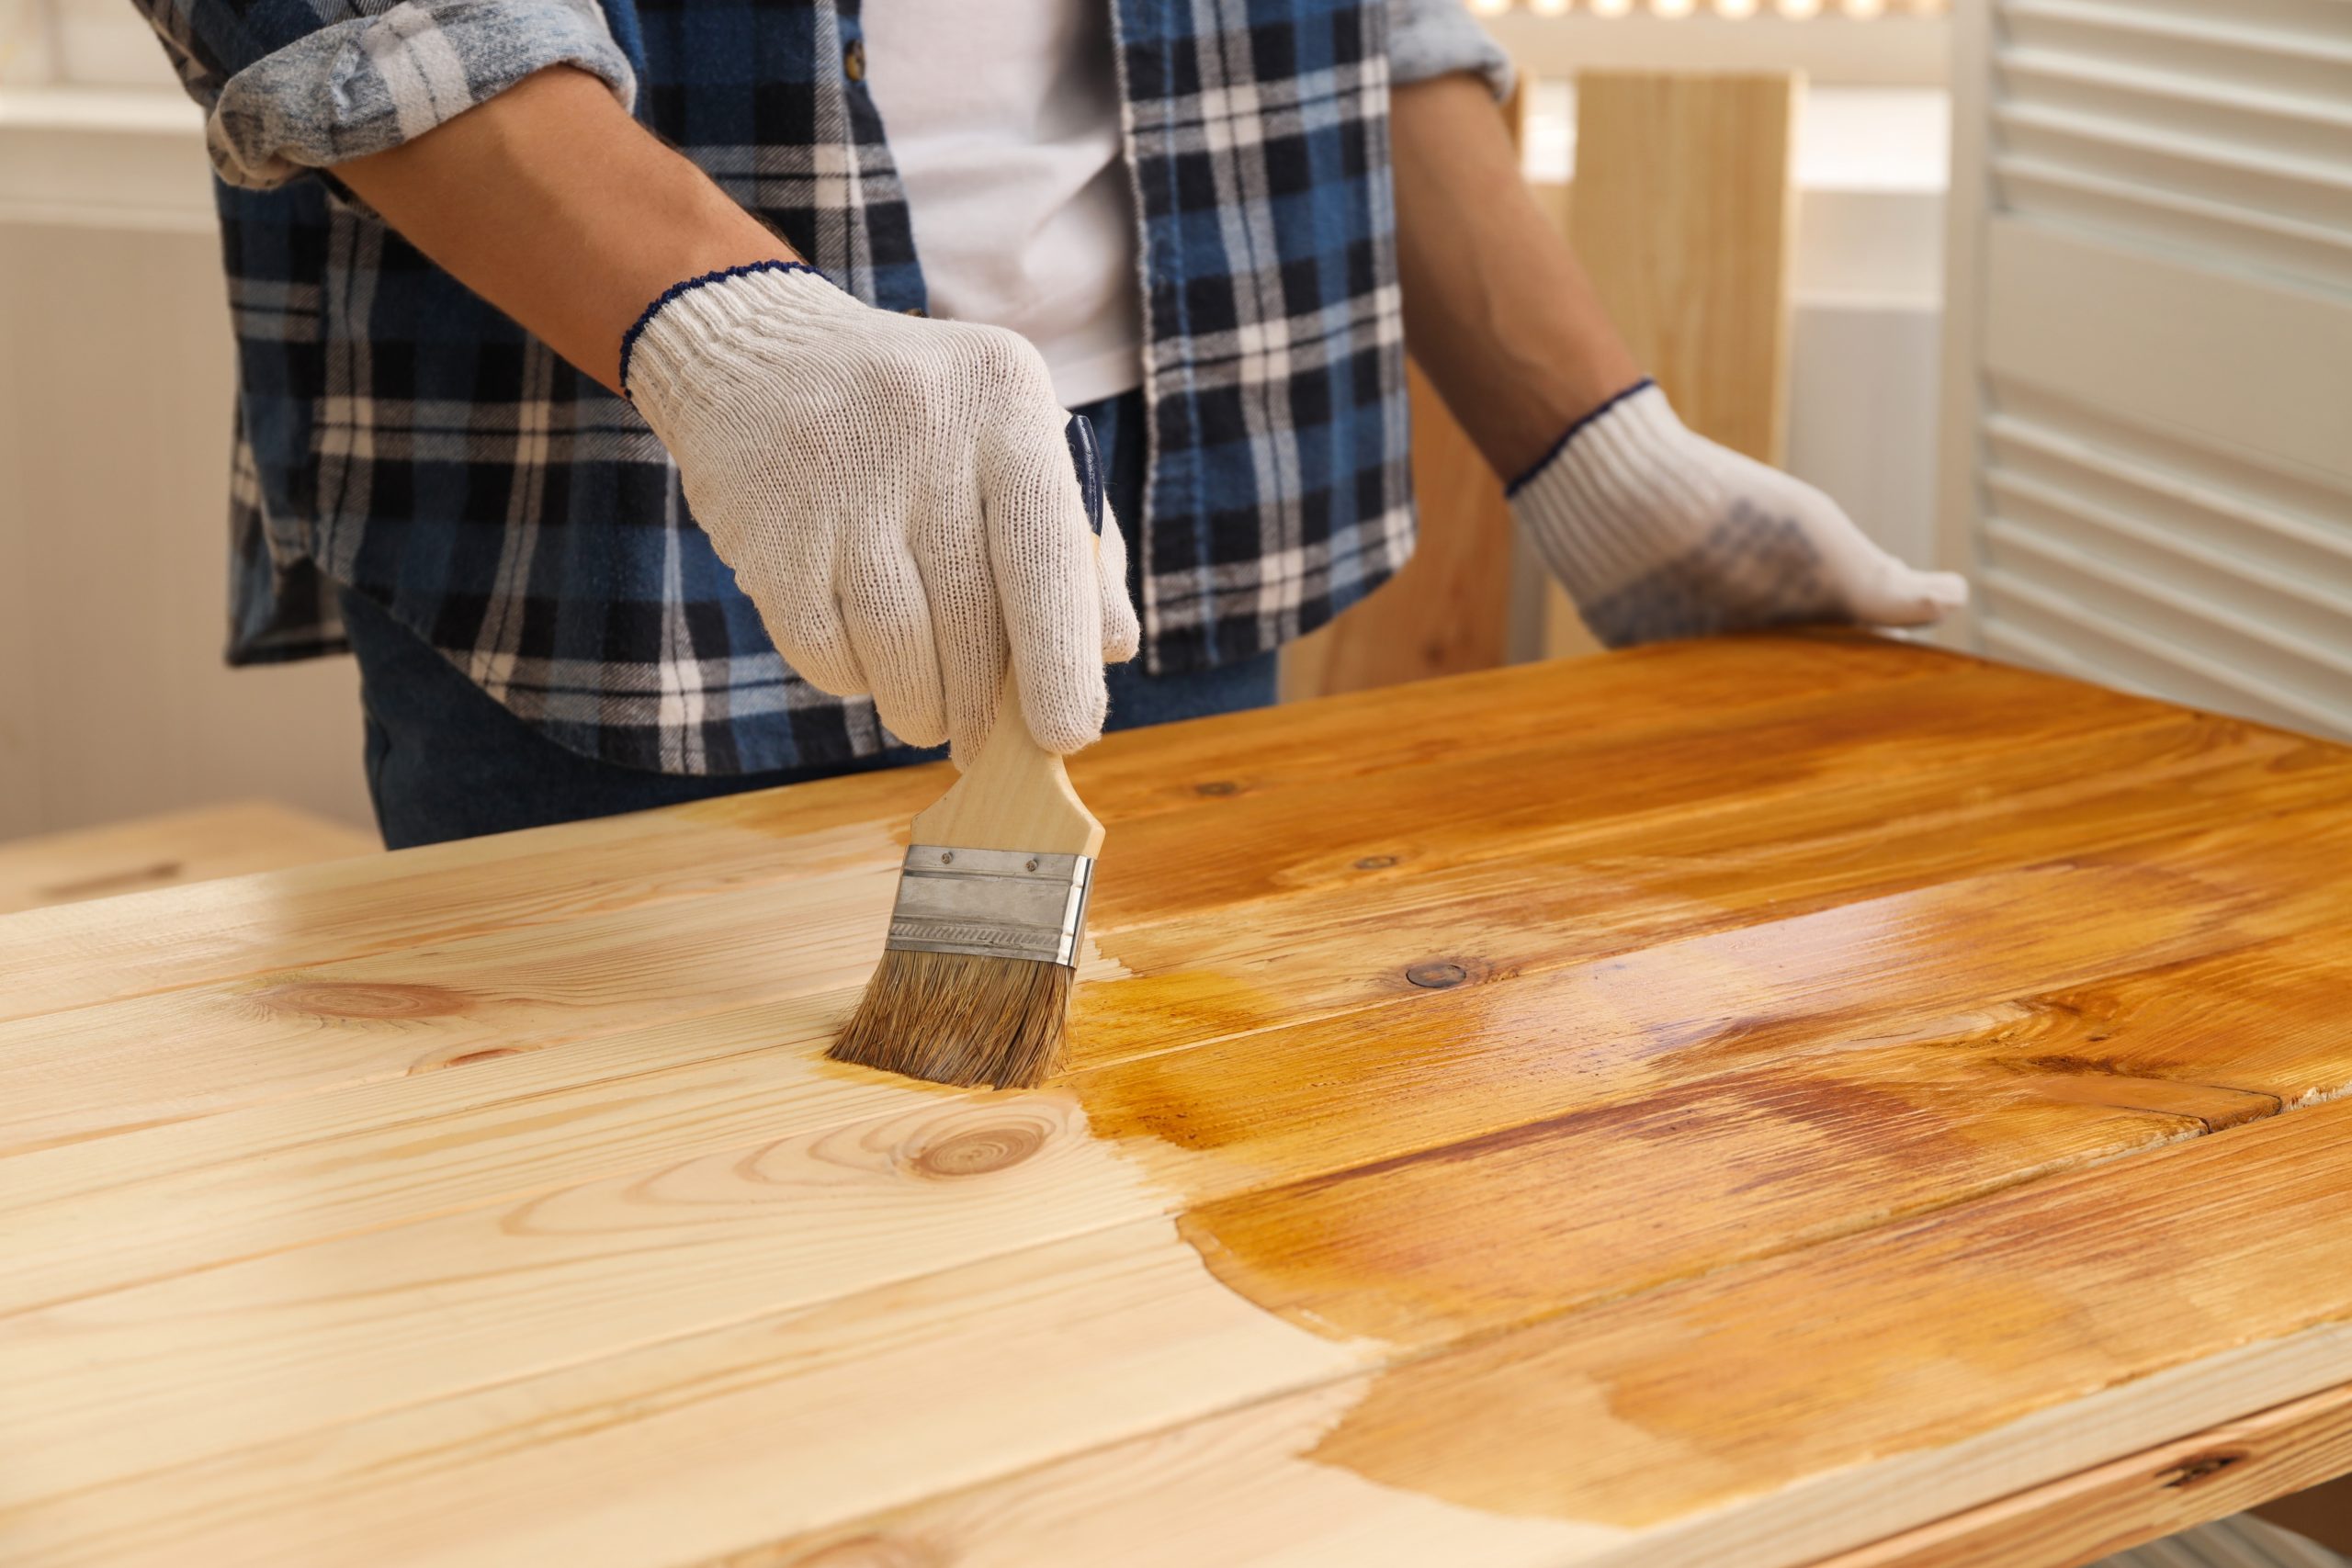
When Is the Right Time to Refinish Your Worktops?
You don’t have to wait until your worktops are in a terrible state. It’s often better to act early, before water damage and stains penetrate too deeply. Signs it’s time to call in help include:
- Grey, dry-looking patches where the finish has worn away
- Dark water marks around sinks, taps and draining boards
- Scratches and knife marks that won’t clean out
- Areas that feel rough or fibrous to the touch
- Stains that keep returning even after a thorough clean
If you’re planning other improvements – new handles, a fresh coat of paint on cabinets, maybe worktop refinishing combined with wood floor sanding – scheduling everything together will give you the most dramatic before-and-after transformation.
Ready for Hygienic, Durable, Beautiful Worktops Again?
Tired, stained worktops can drag your entire kitchen down. But you don’t necessarily need a new kitchen to fix the problem. Professional worktop sanding and refinishing can:
- Remove years of wear and tear
- Improve day-to-day hygiene
- Highlight the natural beauty of your timber
- Extend the life of your existing kitchen by many years
Whether you’re pairing it with hardwood floor refinishing, deck sanding or a full home refresh, investing in your worktops is one of the most cost-effective upgrades you can make.
If your kitchen surfaces are starting to look and feel past their best, now is the ideal time to explore expert worktop refinishing & sanding and enjoy hygienic, durable kitchen worktops you’re proud to show off again.