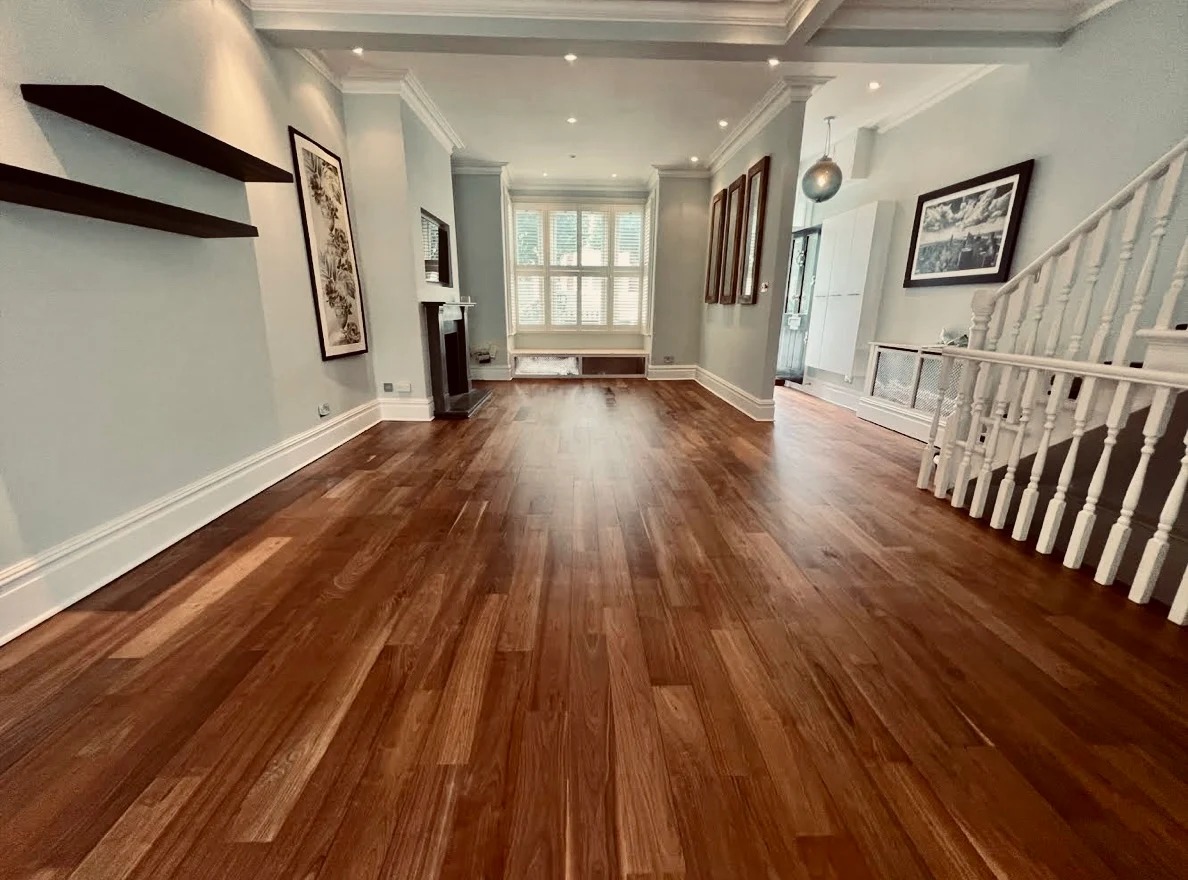
Transform Hardwood Floors with the Right Sanding Sequence
Renovating timber flooring is one of those rare home projects that rewards you twice: first when the space suddenly looks larger, brighter and more coherent; and again when you realise how much easier it is to live with day to day. Yet great results don’t happen by accident. They arrive when you treat sanding and finishing as part of a broader design decision — not as a last-minute task to be squeezed in after the painters. This guide walks you through a clear, UK-centric approach to planning, preparing, sanding, finishing and maintaining your floor so you can enjoy a durable, beautiful result that elevates the whole room.
We’ll cover the decisions worth making before anyone rolls in a sander, the practical steps professionals follow on site, how to choose the right finish, how to live through the work with minimal disruption, and what to do afterwards to keep the surface looking its best. Whether you’re updating a Victorian terrace in SE9 or opening up a modern flat, treating your project as a blend of design and craft is the fastest way to a durable transformation for your Hardwood Floors.
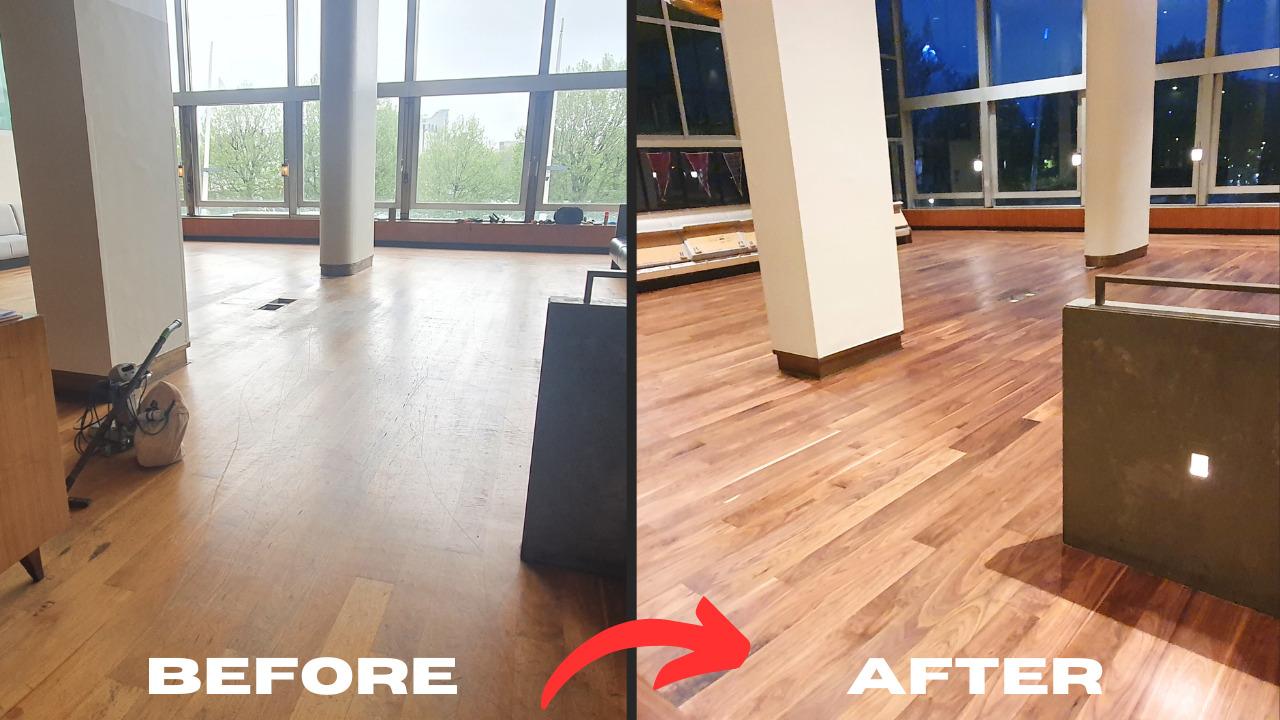
Stage 1: Design first, then sanding
1) Start with the look you want
Before any machine touches the boards, decide the feel of the room. Are you aiming for a quiet, matt gallery aesthetic? A warm, honeyed family space? A crisp, pale Scandinavian tone? Take stock of fixed elements: kitchen fronts, skirtings, architraves, stair treads, built-ins, as well as incoming items like a new sofa or rug. Your floor is a vast plane; its colour and sheen will influence paint choices and how much light the room appears to hold.
Create a quick brief:
- Desired tone: pale / natural / mid-oak / deep & dramatic
- Sheen: extra-matt (dead flat), matt, satin, or gloss
- Character tolerance: visible knots and mineral streaks vs. a cleaner, more uniform appearance
- Maintenance appetite: occasional top-ups and gentle cleaning versus a tougher film finish with simple wipe-downs
Having this written down informs sanding depth, any stain or tint, and the protection you’ll apply at the end to your Hardwood Floors.
2) Colour strategy: natural, stained or reactive?
- Natural / clear: Lets the species speak — lovely on oak and ash. Use a water-based primer that blocks ambering if you want a pale, near-raw look.
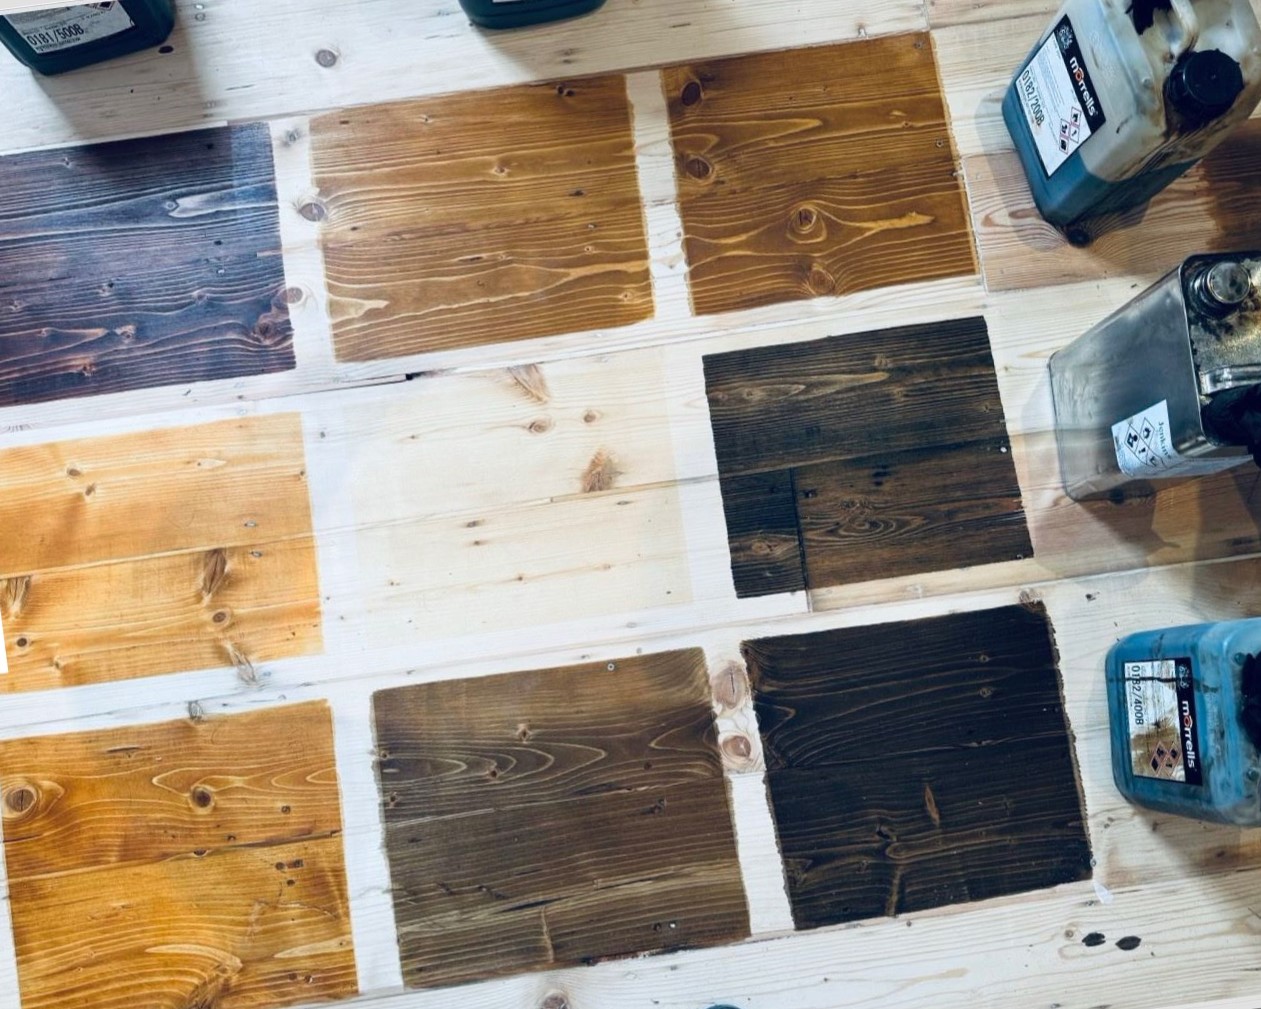
- Stained: Classic mid-oak, walnut tones, or contemporary greys. Always approve a sample on your boards after the final sanding grit; timber takes colour differently room by room.
- Reactive effects: Lyes or tannin-reactive solutions can yield subtle, organic tones on high-tannin species like oak. These require strict sanding discipline and test patches.
3) Sheen and feel underfoot
- Extra-matt and matt hide wear best and feel modern.
- Satin adds gentle glow without looking plastic.
- Gloss is dramatic but unforgiving of dust and scratches.
4) Edges, borders and thresholds
Think about how the floor meets adjacent materials. A neat threshold solves height changes, prevents trip edges and avoids awkward slivers. If you fancy a subtle room frame (a simple border sanded clean with crisp edges), plan it before the sanding starts.
Stage 2: Preparation — the 80/20 of great results
Great floors are won in the prep. A professional crew typically spends a meaningful chunk of day one simply making the site ready.
Room readiness checklist
- Clear furniture and breakables. Lift curtains, remove pictures near the floor, and empty bottom shelves.
- Remove or protect kick plates and toe-kicks. Tape dust-sensitive cupboard seams.
- Secure power and access: 230V sockets, parking, lift bookings if relevant.
- Temperature and humidity: aim for a stable, lived-in environment — extremes can make boards move during or after works.
- Pets and children: plan routes and quiet zones.
Repairs and safety
- Nails and screws: Punch fasteners at least 2–3 mm below the surface to protect sanding belts.
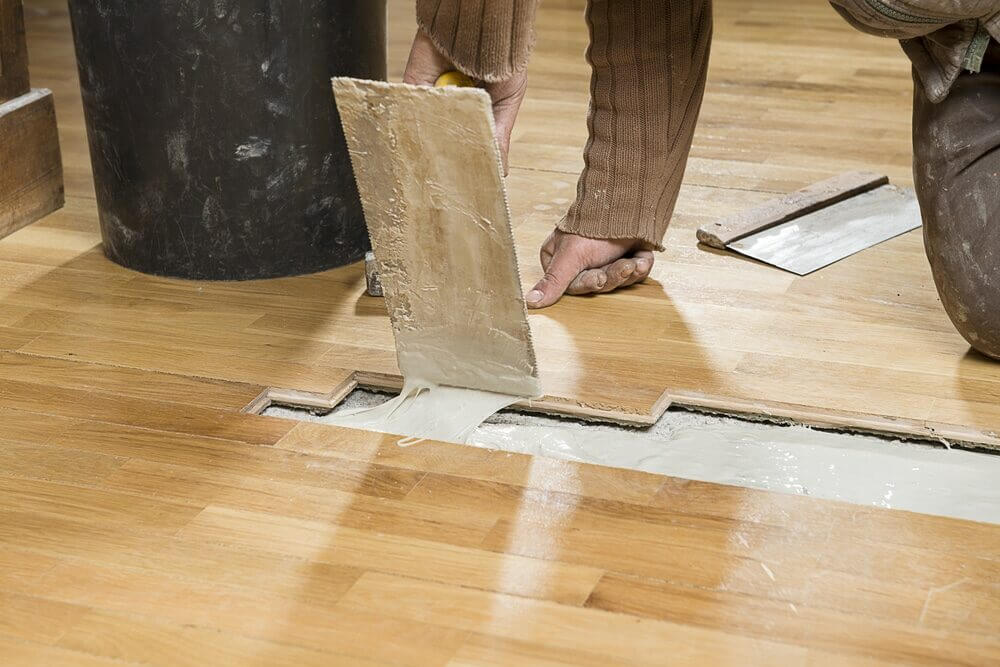
- Loose boards: Re-fix discreetly from the tongue side where possible.
- Gaps: Decide on a strategy (leave, fill with flexible mastic, or resin & dust) depending on board movement and heating type.
- Isolated replacements: If a few boards are beyond saving, source matching species and width; stagger joints so repairs disappear once finished.
When the space is protected and the substrate sound, you’re set to bring out the true character of your Hardwood Floors.
Stage 3: The sanding sequence, demystified
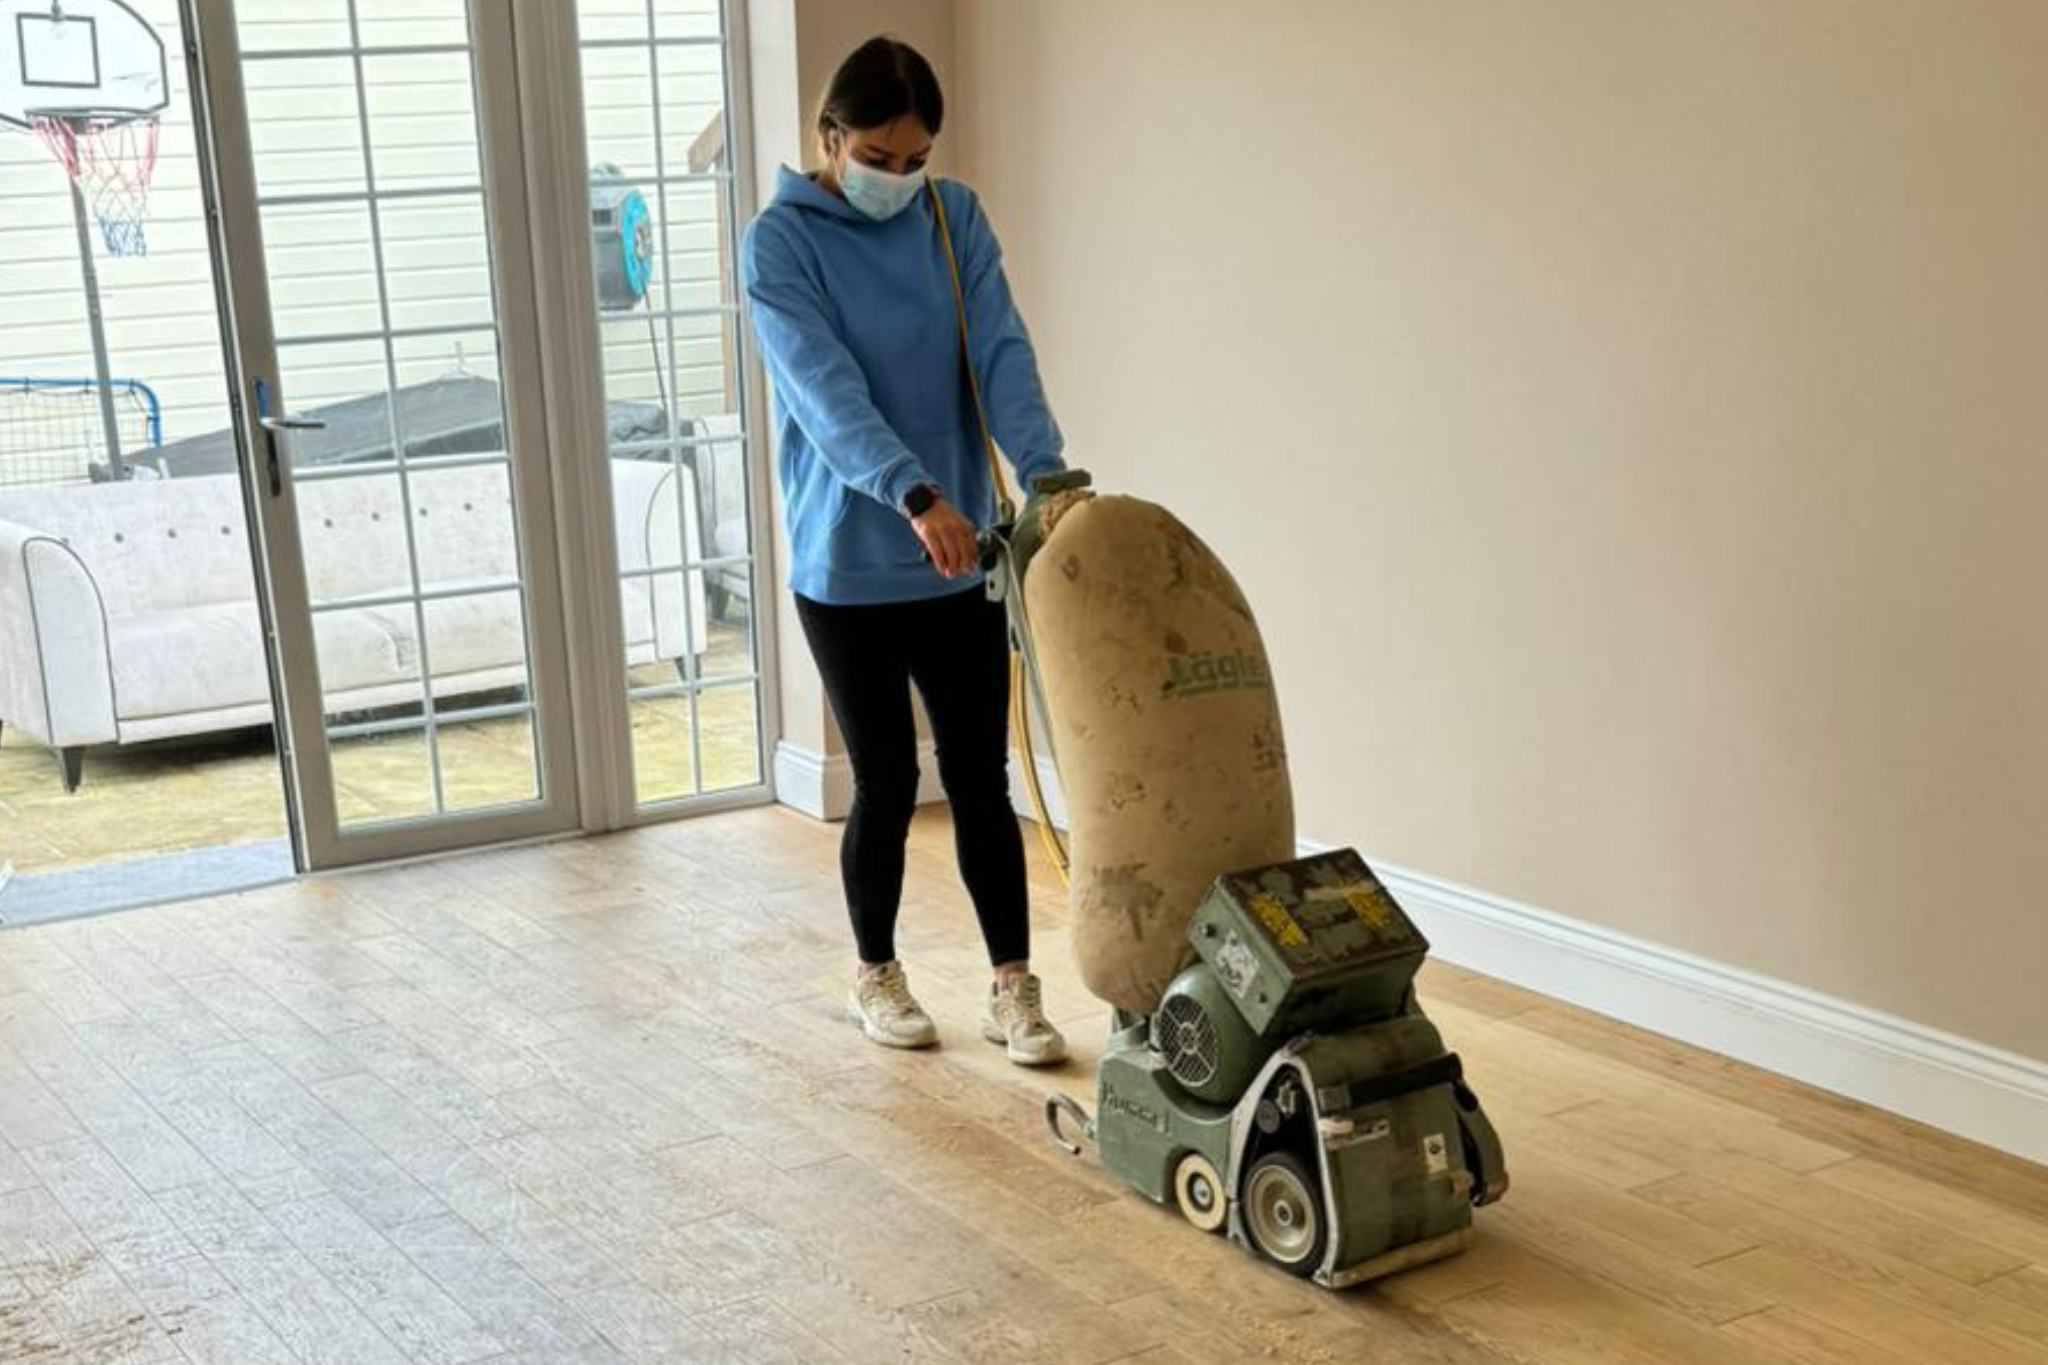
Sanding is not “just sanding”. It’s a sequence designed to flatten, refine and prepare the surface for finish. The exact grits vary by condition, species, and whether the boards are cupped or previously finished, but a typical approach looks like this:
Step-by-step overview
- Flatten and level
If the boards are uneven or cupped, the first cut may run diagonally with a coarse grit to knock down high spots without chasing dips. The goal is a flat, consistent plane rather than chasing perfection into the subfloor. - Progressive scratches
After the opening grit, each pass removes the previous scratches while introducing finer ones. Skipping too many grits leaves “ghost” lines that the finish will highlight. A conservative example: 40 → 60 → 80 → 100/120. - Edges and perimeters
Edgers bring the perimeter to the same refinement as the field. Keep machines moving to prevent “edger halos” (a shiny, dished ring around the room). Inside corners and tight spots are hand-scraped or detailed with a corner tool. - Inter-pass vacuuming
Thorough vacuuming between grits removes abrasive dust that would otherwise scratch in random patterns. - Final screen / buff
A mesh screen or maroon pad levels micro-ridges and blends the field and edges. This is the moment the surface starts to feel silky and uniform. - Inspection under raking light
Walk the room with a bright, low-angled light to spot chatter, stop marks or swirls. Correct before any liquids touch the timber.
By following a disciplined sequence and verifying at each stage, you set up the finishing coats to bond evenly and look flawless on your Hardwood Floors.

Stage 4: Finishing — protection, colour and sheen
The finish is both a look and a performance layer. Choose it to suit lifestyle as much as taste.
Film-forming lacquers (water-based polyurethanes)
- Pros: Tough, easy routine care, great in kitchens and family spaces.
- Look: Available in extra-matt to gloss; modern products avoid heavy ambering.
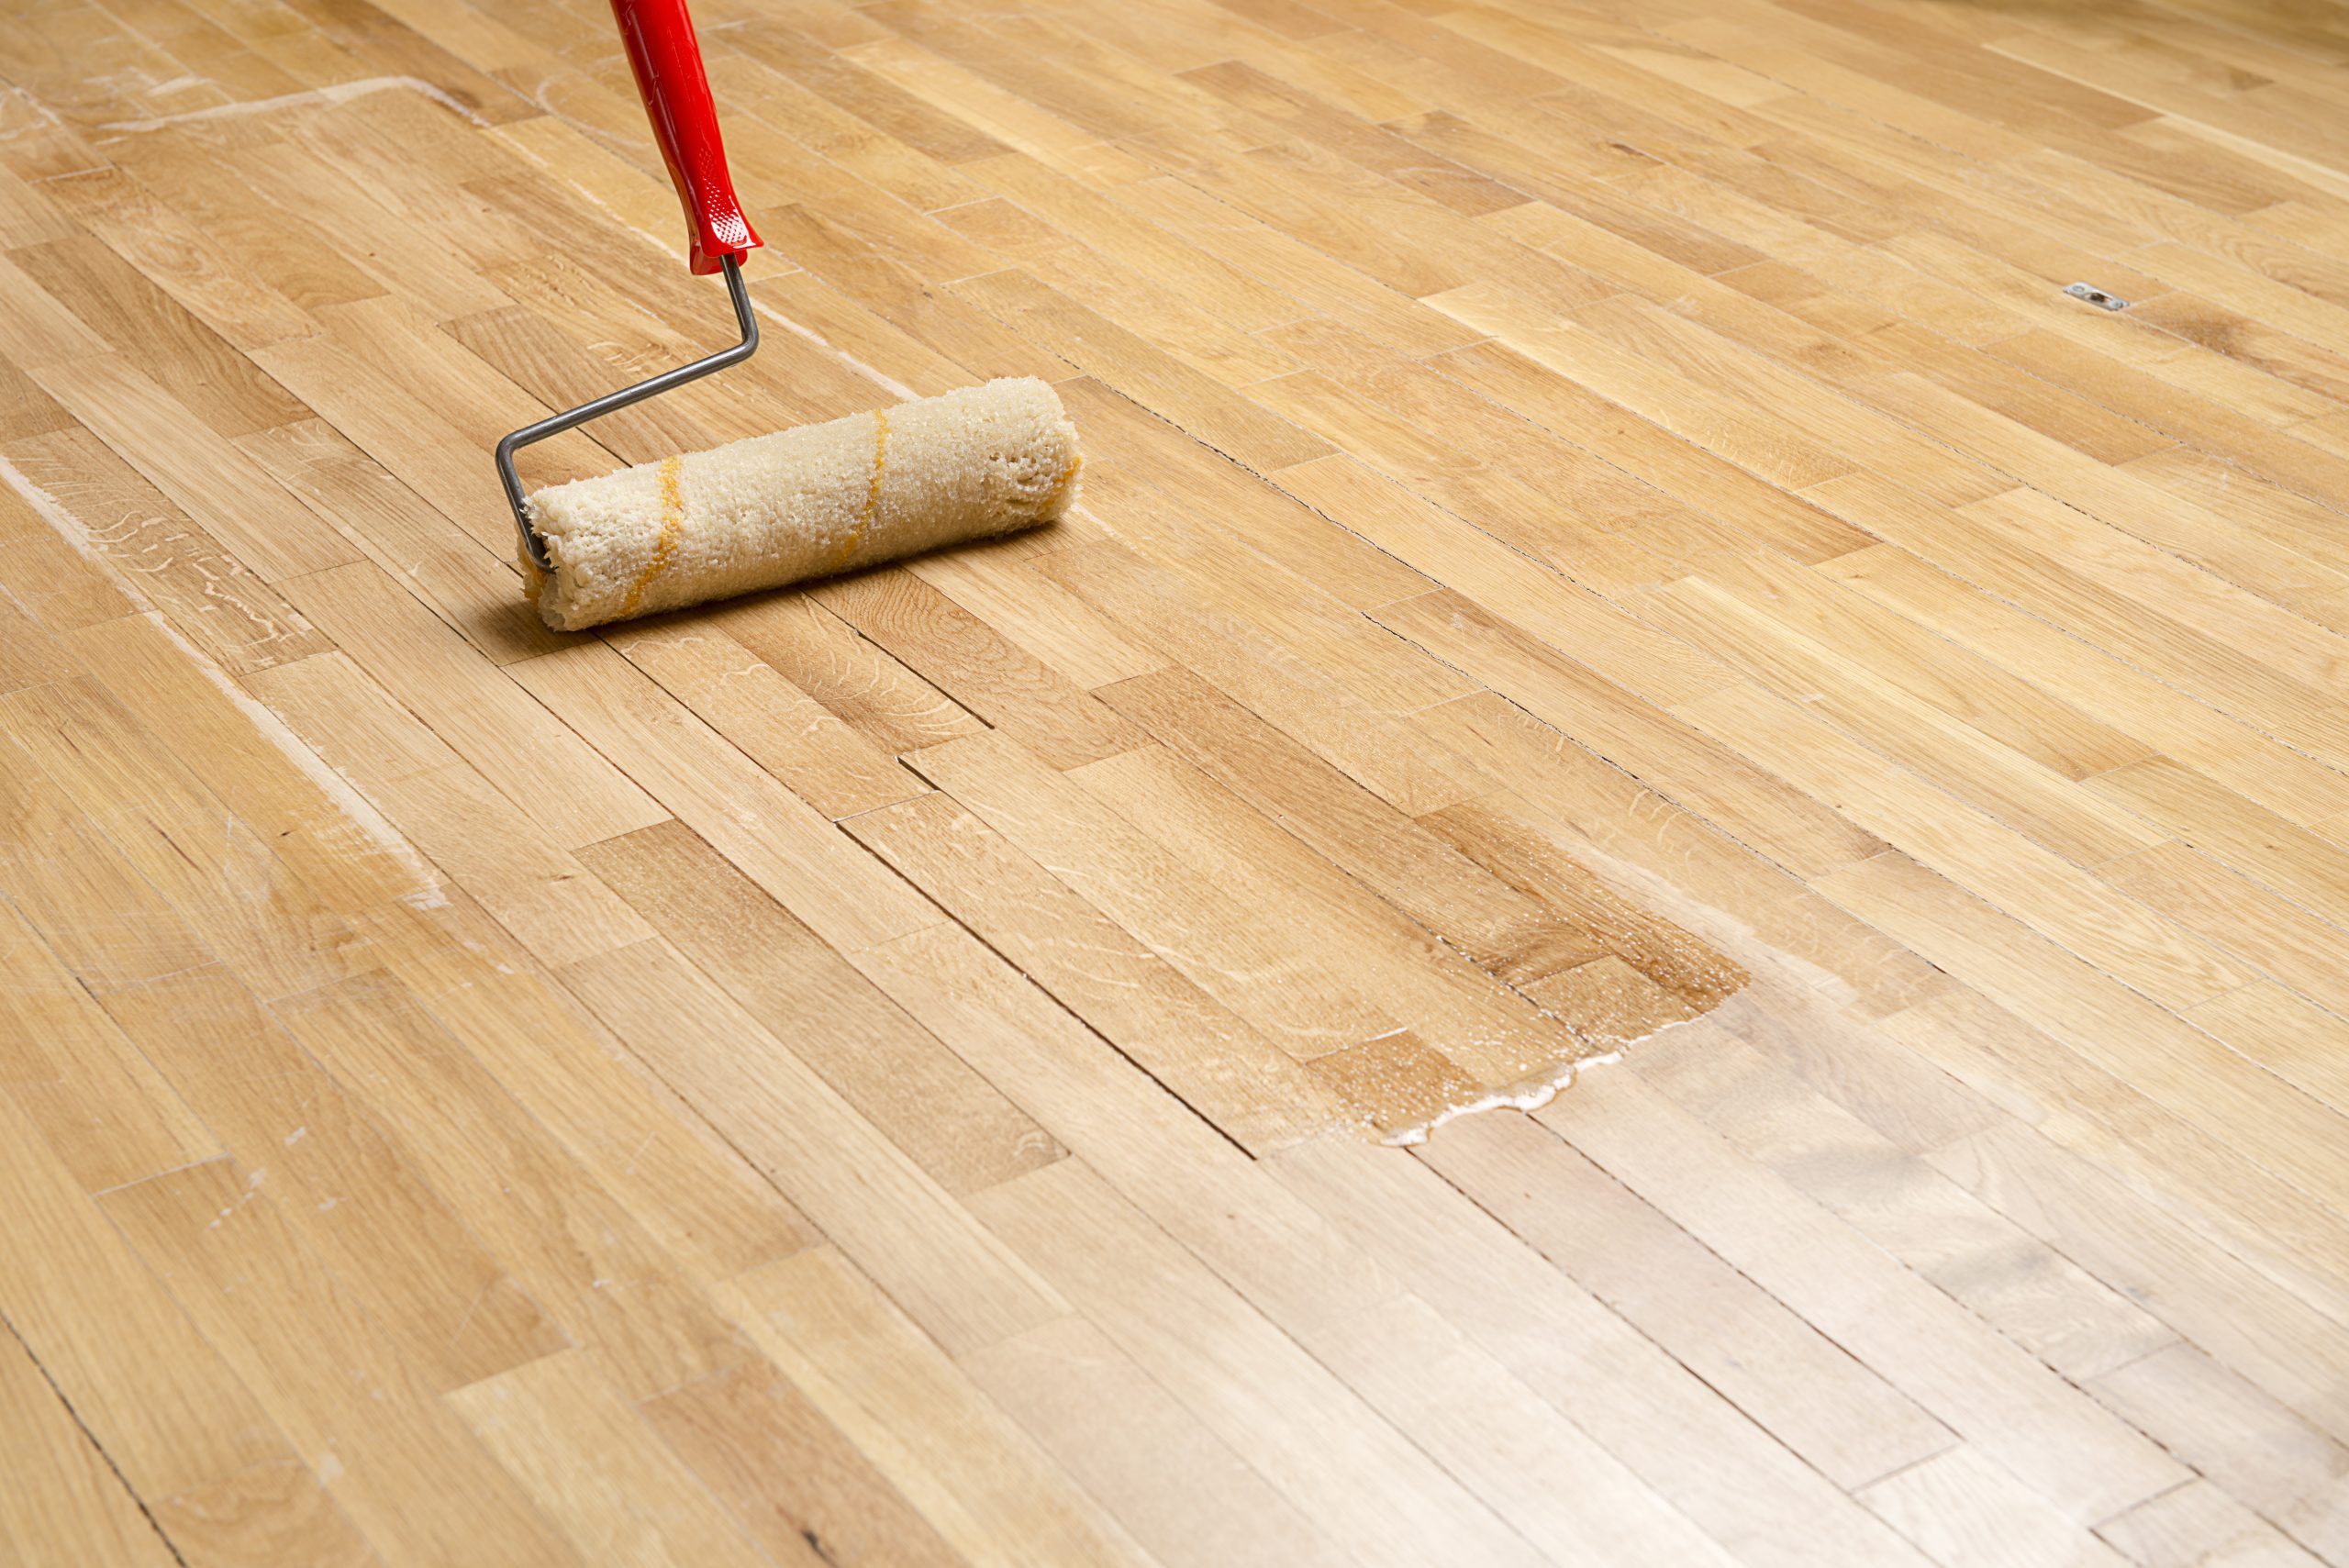
- Process: Usually a primer/sealer then two to three topcoats, with a gentle de-nib between coats to remove micro-fibres.
Hardwax and penetrating oils
- Pros: Natural feel, repairable in patches, beautiful depth on characterful timber.
- Look: Typically matt to satin; enhances grain.
- Process: Two to three coats with appropriate drying windows; occasional refreshers keep them looking superb.
Stains and tints
If you’re changing colour, it must be applied onto perfectly prepared timber. Wipe-on stains require even wet-edge management and careful buffing before the protective coats. Always approve a sample board first; daylight in your room can differ dramatically from a showroom.
Drying, curing and re-entry
- Touch-dry can be within hours, but cure takes longer. Respect the manufacturer’s timings for light foot traffic, furniture return and rug placement.
- Use clean, soft-soled shoes for first access; avoid dragging anything across the surface.
The correct finishing system, applied in the right conditions, is what transforms sanded boards into resilient, good-looking Hardwood Floors.
Timelines, noise and living-through-it: what to expect
Every home is different, but here’s a practical, mid-sized scenario to help you plan:
- Day 0 – Prep evening: Move furniture, clear surfaces, designate a dust-free room for essentials.
- Day 1 – Setup & coarse cuts: Site protection, repairs, fasteners punched, first two sanding passes, edges begun.
- Day 2 – Refinement & blending: Further grits, perimeter refinement, buffing/screening.
- Day 3 – Colour & first topcoat: If staining, it happens now, followed by the first protective coat once dry.
- Day 4 – Additional coats: Light de-nib and final coats.
- Day 5 – Light re-entry: Careful foot traffic, light furnishings without rugs.
- Week 2–3 – Full use: Replace rugs and heavier items once the finish has hardened fully.
Noise & dust: Professional H-class extraction and modern machines keep dust to a minimum; you’ll still notice a fine film, so expect a top-to-bottom clean after completion. Noise is intermittent and mechanical — plan calls and naps accordingly.
Aftercare that actually works
The first days after finishing set the tone for years.
First 7 days
- Ventilate gently; avoid steam or high moisture.
- Do not cover with plastic sheeting; if you must protect for a delivery, use breathable materials.
- Felt-pad every chair and furniture foot.
First 30 days
- Keep mats at entrances to intercept grit.
- Clean with a pH-neutral wood floor cleaner and a lightly damp microfibre mop — never soaking wet.
Seasonal care
- Maintain stable indoor humidity where possible. Central heating and log burners can dry the air; bowls of water or a small humidifier help reduce seasonal gaps.
- Use protector cups under castors.
- Refresh oil finishes as advised; for lacquered surfaces, plan a light maintenance buff and re-coat before high-wear areas look tired.
With a simple routine, you’ll preserve the colour, clarity and crisp lines that make your Hardwood Floors the quiet hero of the room.

Common pitfalls (and how to avoid them)
- Skipping grits: Tempting when time is tight, but it leaves scratch patterns and haze visible under raking light.
- Edger halos: Caused by lingering too long near the perimeter. Blend with a final screen and keep machine movement fluid.
- Dish-out and waves: Over-aggressive sanding on softer spring growth. Correct technique and balanced machine set-up prevent this.
- Contamination between sanding and finishing: Body oils, silicone sprays and even hand creams can cause fisheyes. Vacuum well and handle with clean gloves if necessary.
- Colour mismatch after repairs: New boards can take stain differently; pre-age or pre-treat to blend before sealing.
- Rushing drying windows: Pushing coats too soon can trap solvent or water, weakening the finish.
Budgeting and value: where the money goes
- Condition & repairs: Loose boards, historic coatings (like old varnish or adhesive residues) and extensive gap-work add time.
- Access & logistics: Upper floors without lifts, parking restrictions and tight hallways increase labour.
- Finish system: Premium, low-VOC products cost more but reduce odour and speed return to normal life.
- Detailing: Borders, stairs and complex thresholds require careful handwork.
Smart saving tips (without false economy):
- Do your own furniture move where feasible.
- Confirm power availability and clear access so the crew can start quickly.
- Decide finishes and colours before day one to avoid on-site delays.
Working with professionals in SE London
A skilled team doesn’t just “do the job”; they guide you through design decisions, schedule the work realistically, and leave you with a care plan. Expect the following from a quality contractor:
- A site visit that checks moisture, subfloor movement and repair needs
- Written scope with grit sequences, finish specifications and coat counts
- Clear dates and daily milestones
- Samples on your floorboards for colour and sheen sign-off
- Proper dust control and tidy daily wrap-up
- A maintenance guide tailored to your finish
When these pieces are in place, the sanding days feel well-organised rather than disruptive — and the reveal is worth the planning.
FAQs
Can you make a very pale, almost raw look on oak?
Yes — pair a non-yellowing primer with an extra-matt water-based lacquer. Specify this at the quoting stage so sanding and sealing work together.
What about underfloor heating?
Keep temperatures moderate during and after the works to prevent rapid moisture changes. Flexible fillers are usually preferred over rigid gap-fill in these rooms.
Is stain durable?
Stain sits in the timber fibres and is protected by subsequent coats. Durability comes from the film or oil system on top; follow maintenance guidance and avoid abrasive cleaners.
Can you live in while the work happens?
Often yes, with a smart room sequence and evening re-entry after coat drying. Kitchens and halls need extra planning because of access.
Bringing it all together
Treat your floor renewal as a design-led process backed by rigorous craft. Decide the look, prepare well, insist on a disciplined sanding sequence, choose a finish that suits your lifestyle, and commit to simple maintenance. Do that, and your rooms will feel calmer, lighter and more cohesive — not just freshly done, but truly refined.
If you’re ready to plan your project, start with a clear brief and a site assessment. A good local specialist will help you translate your taste into the right products and methodology for your home, then deliver a clean, durable finish on your Hardwood Floors.